Client Setup
With Controller Setup complete, the next step is to install a Bowtie Client that will connect to a Controller endpoint. The outline for this process is:
Perform any pre-flight checks by checking Client System Requirements
Download the Client. Bowtie supports Linux, Windows, OS X, and iOS.
Perform necessary Client Configuration. A Controller
httpsendpoint is required unless using a pre-configured package.Log In as part of initial setup. This step ensures that your organizational identity is properly associated with the connected device.
Accept the Client on the Controller. Note that this action may need to be performed by a user with administrative privileges and may be performed before or after client setup.
Step Summary
Client System Requirements
Windows Requirements
Bowtie is tested against Windows 11 update 22H2 and should work with Windows 7, 8, 10 and 11.
As part of required dependencies, the client package will install Wireguard and Microsoft’s WebView2 before completing its own installation. No manual steps required for these dependent packages.
MacOS Requirements
Bowtie is tested against MacOS 13 “Ventura” and should work on MacOS versions 10.14, 10.15, 11, 12 and 13.
MacOS packages are provided as .pkg files.
iOS Requirements
All modern versions of iOS are supported by the Bowtie client app. Consult the app store page for the most up-to-date compatibility information.
Linux Requirements
Client packages will work on most Linux distributions but are currently only tested on modern Ubuntu, CentOS Stream, and Arch Linux releases.
If your distribution does not use .deb, .rpm, or pacman packages, reach out to a Bowtie representative for additional support.
Linux installations that have systemd-resolved enabled should work without additional configuration.
Linux distributions without systemd-resolved enabled will likely work but may require further configuration.
While Ubuntu, Arch Linux, and Enterprise Linux-compatible variants like CentOS Stream are the only distributions currently supported by Bowtie client packages, the client is known to work on other distributions that provide commonly-available shared libraries.
Supported Distributions
If your environment requires different Client packaging formats, let us know! We’d like to learn about your requirements to broaden compatibility.
Ubuntu
Bowtie clients are distributed as .deb packages.
The .deb package includes dependencies on iproute2, wireguard, net-tools, libssl3, libayatana-appindicator3-1, and libgtk-3-0.
If you are not installing the .deb package you may need to install corresponding packages manually.
Wireguard includes a kernel module.
Bowtie also requires read access to sysfs.
Dependencies for libayatana and libgtk-3 support a system tray applet.
If you do not require the tray applet, the Bowtie client will still function but you may observed reduced functionality or convenience.
Outside of Ubuntu, you may optionally install libappindicator3-1 directly instead of the Ubuntu ayatana variant.
Enterprise Linux
Bowtie clients are distributed as .rpm packages.
Some dependencies unavailable in default enterprise Linux repositories like CentOS Stream require EPEL packages and so we recommend installing the epel-release package prior to installing the Bowtie client package:
yum install epel-release
Although the Bowtie client will operate without a system tray available, we recommend installing a GNOME extension to add system tray support to make full use of client capabilities like assisted support and help diagnostics.
Arch Linux
Bowtie clients are distributed as .tar.xz packages for use with pacman.
Packages that are required for functionality like tray control are natively packaged by upstream and so are listed as dependencies on each package.
Client Installation
Download the Client
Use the Bowtie package distribution page to acquire the latest client package for your operating system.
For downloads hosted on https://api.bowtie.works, You may append /latest to each URL if you would prefer to download the latest stable package directly, for example, https://api.bowtie.works/platforms/MacOS/latest.
See Bowtie Downloads if you need additional information about downloading clients.
Pre-configured packages
If you are a current customer, Bowtie can provide pre-configured Client packages that automatically connect to a desired Controller endpoint with any post-installation configuration step. Reach out to a Bowtie representative if you would like to opt-in to this service.
Install the Client
Follow the instructions for your target operating system:
For client installations on iOS, install the iOS app.
Windows Installation
Double click on the .msi file after downloading it to start installation.
The installation wizard will start:
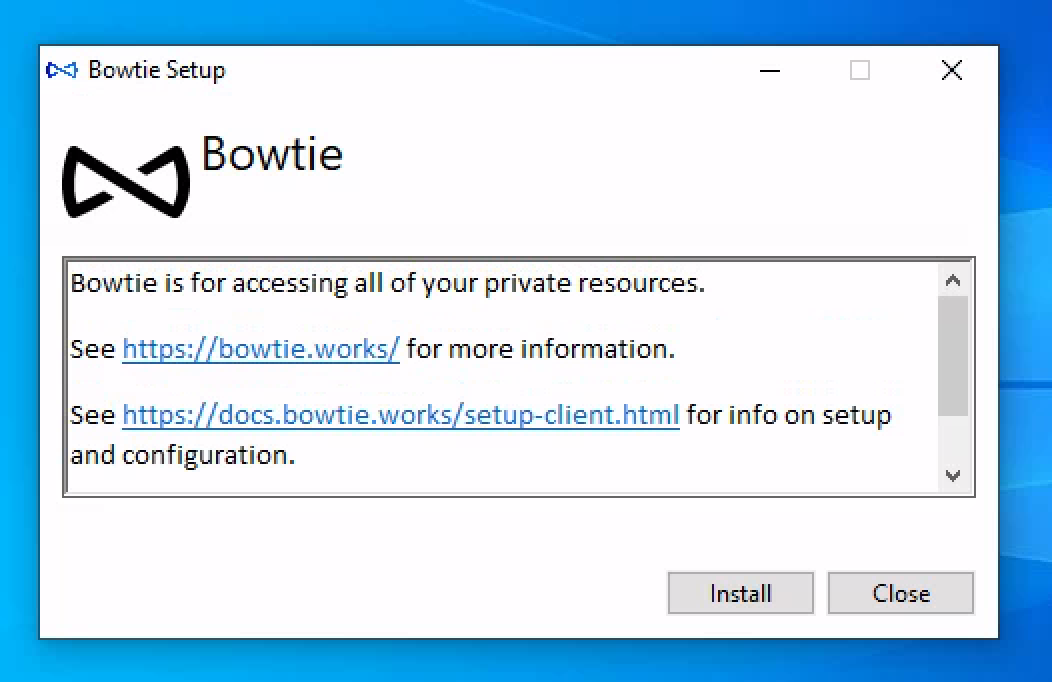
After clicking Install, proceed to read and accept the license agreement:

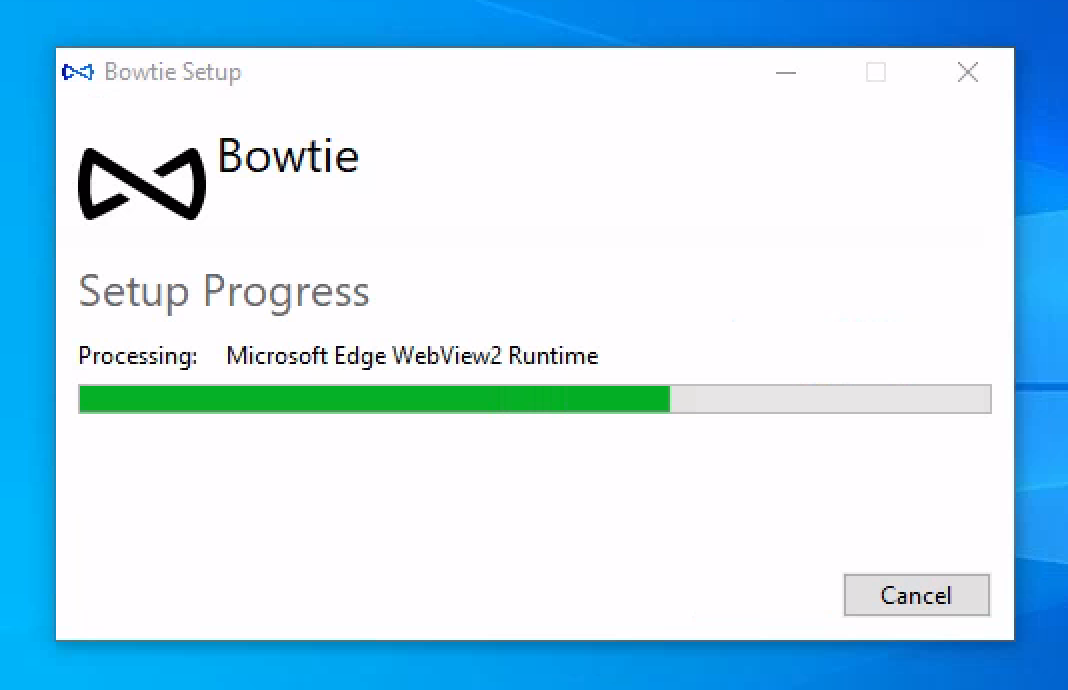
The installer will continue. Read and follow any instructions provided by the installer during the course of installation.
After the installer has finished, a final dialogue box will open with a Launch button to begin the software.
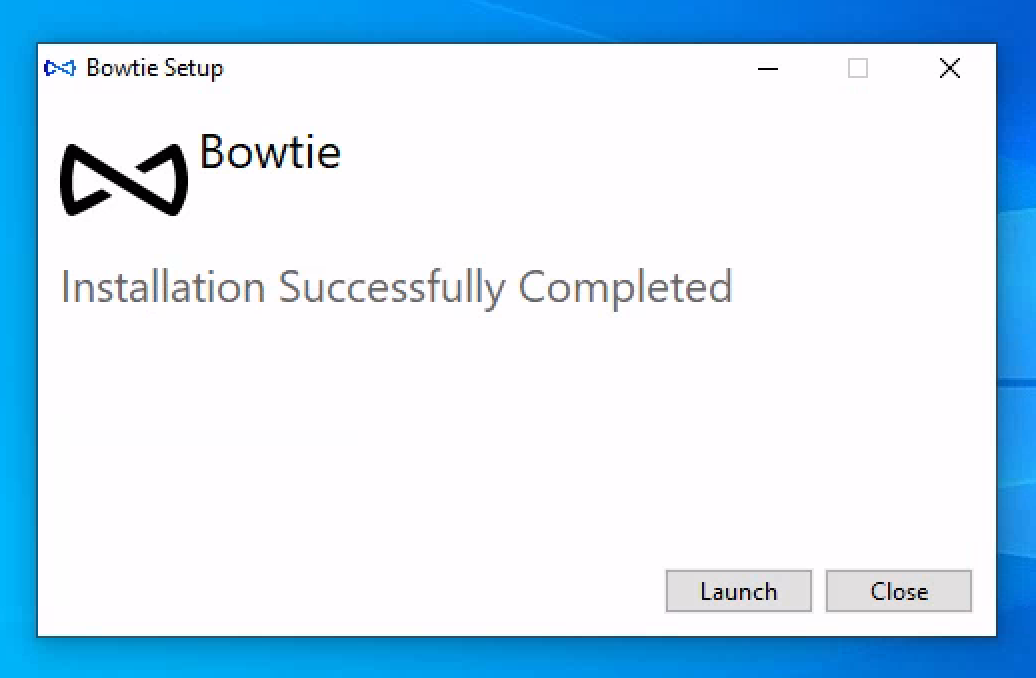
Click this button to proceed with any necessary configuration steps.
Windows Firewall
After the Bowtie client starts running, you will likely receive a notification from Windows
Firewall asking for permission to allow network connectivity to and from bowtie-service.exe and bowtie-dns.exe.
Allow these two applications access to the network to permit full functionality.
MacOS Installation
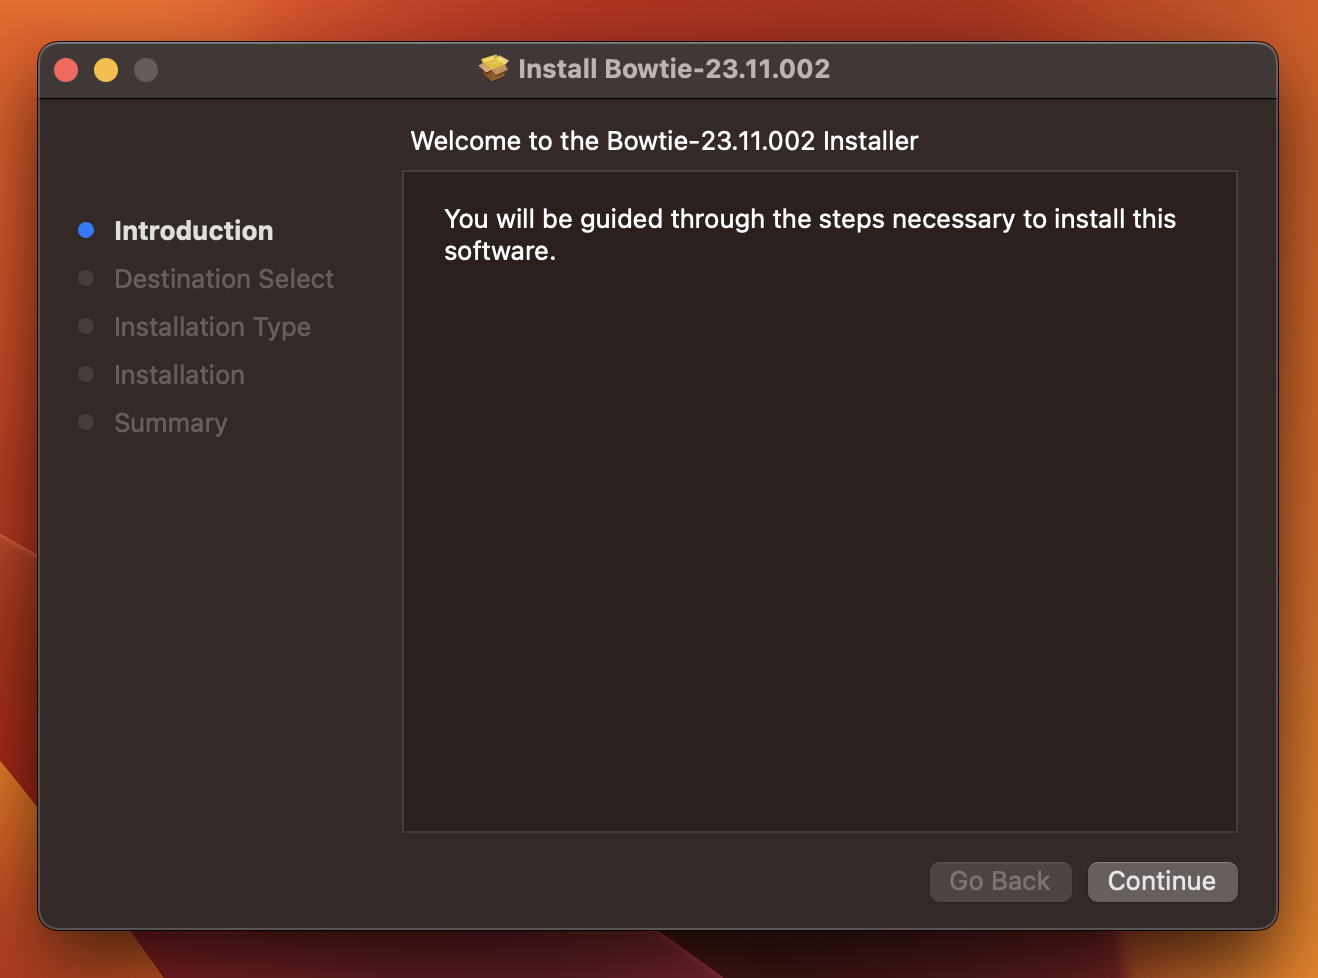
Double click on the downloaded Bowtie.pkg file to install Bowtie:

The installation process will start. Click Continue:
Select an installation path for the program:

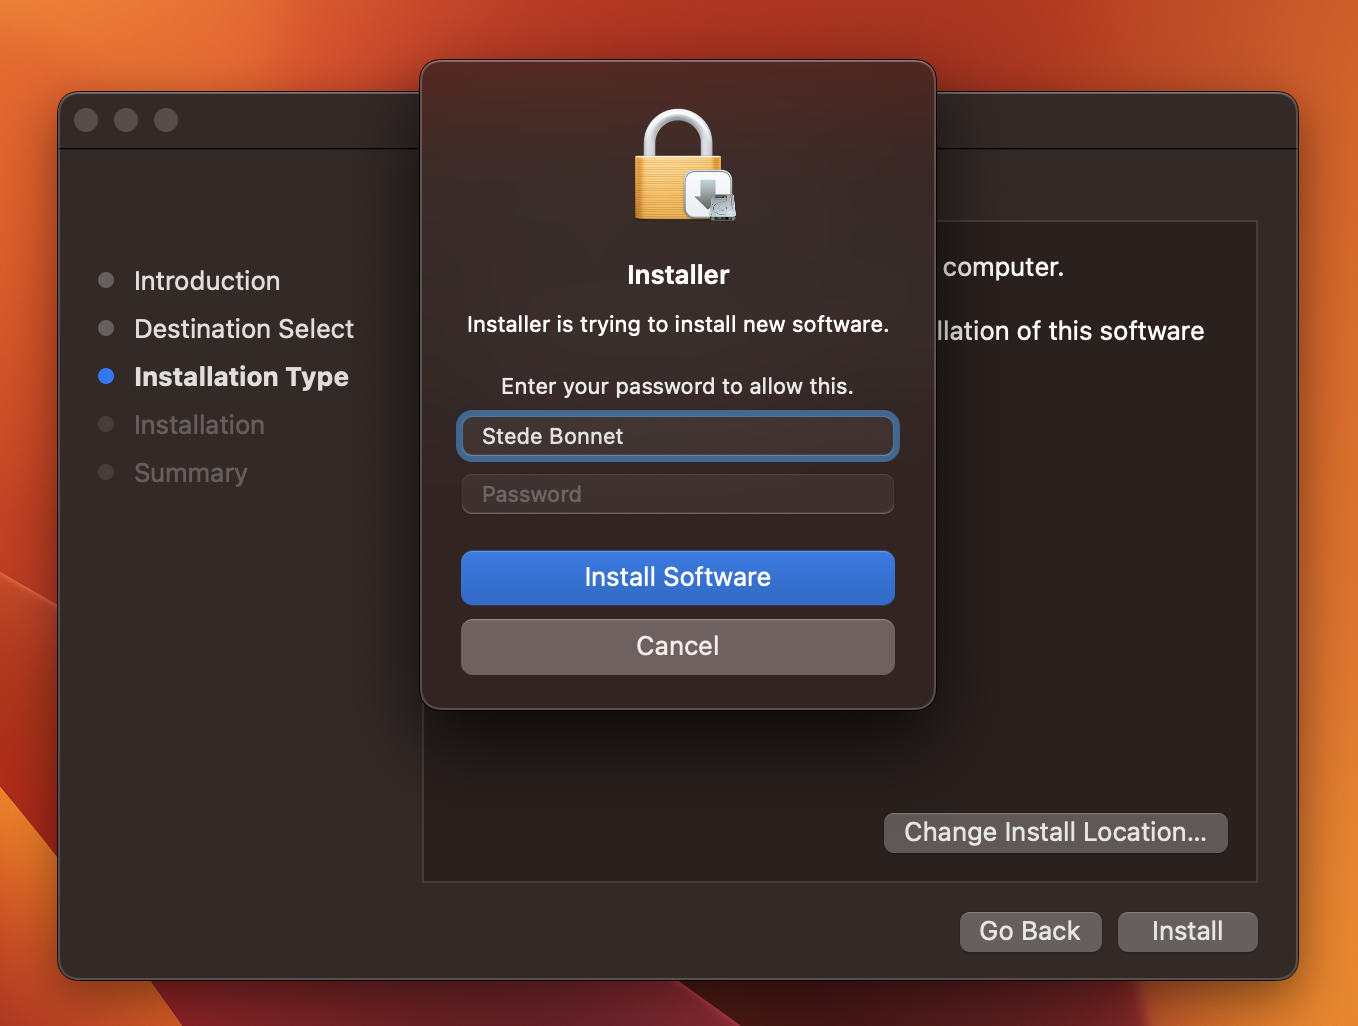
Enter administrative credentials to install the software:
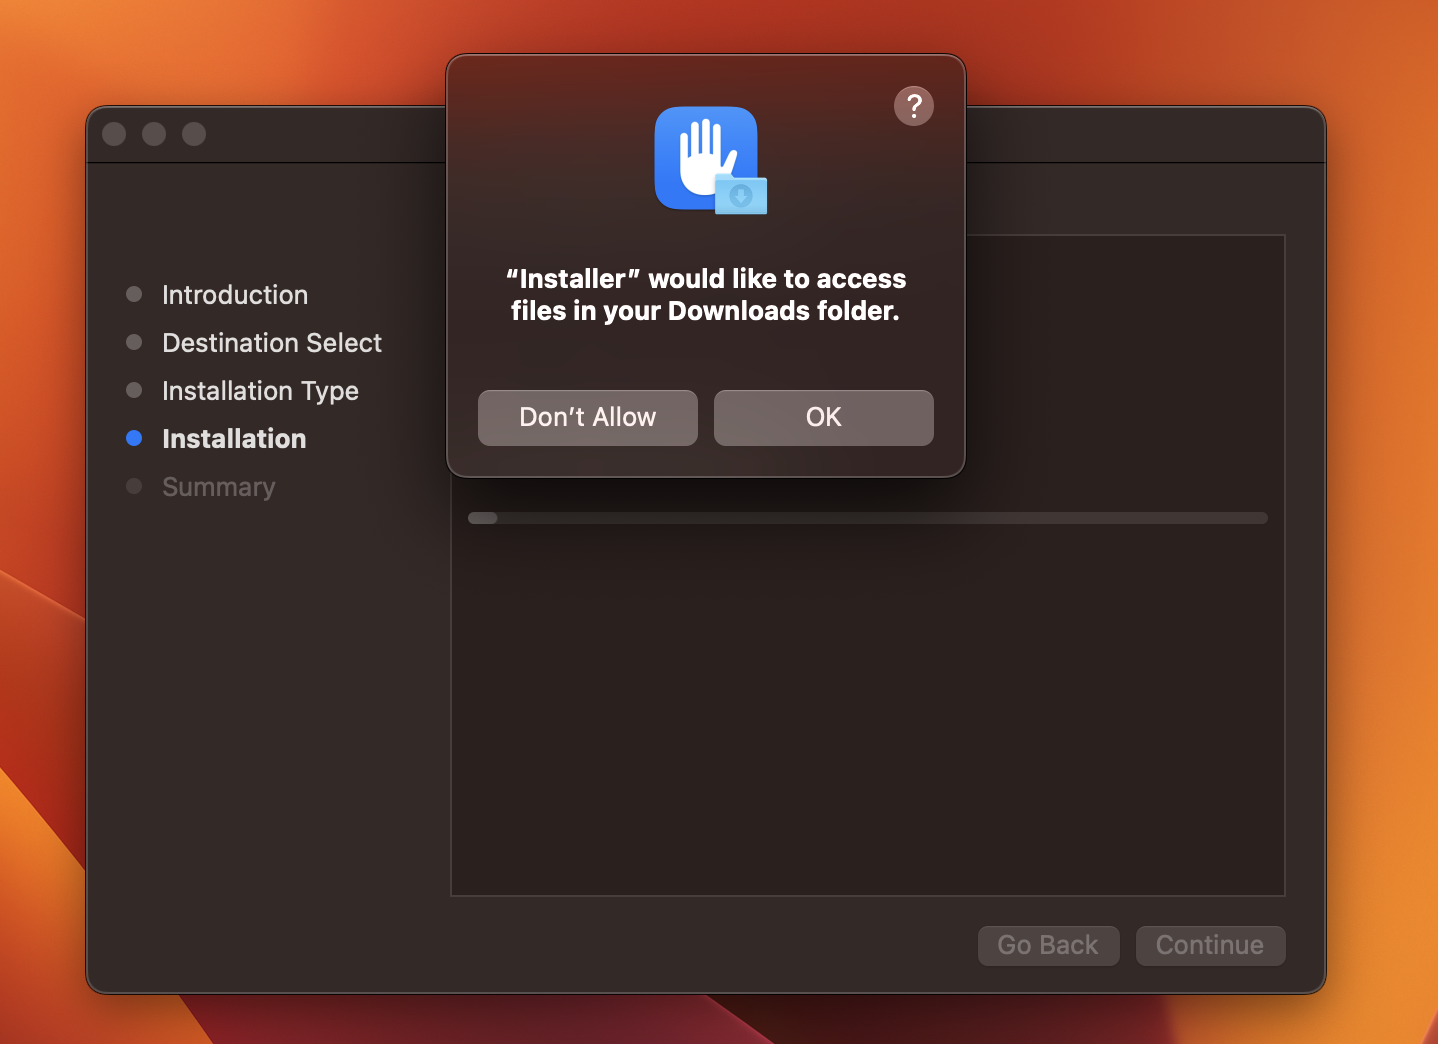
The installation setup may ask for additional folder permissions as part of the installation process. Click Ok to allow this:
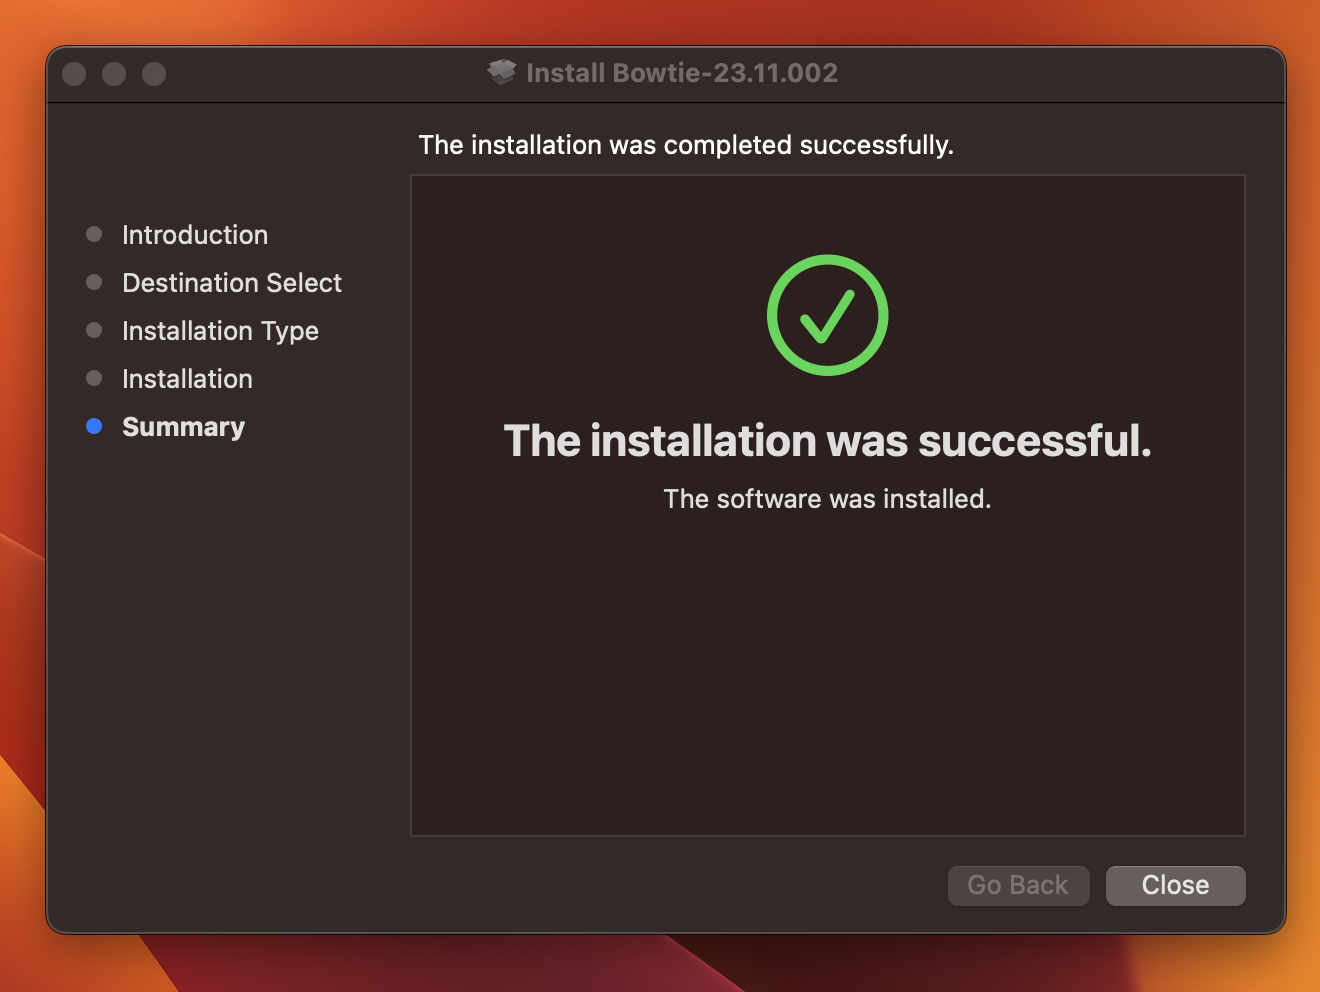
The installer will continue and eventually complete.
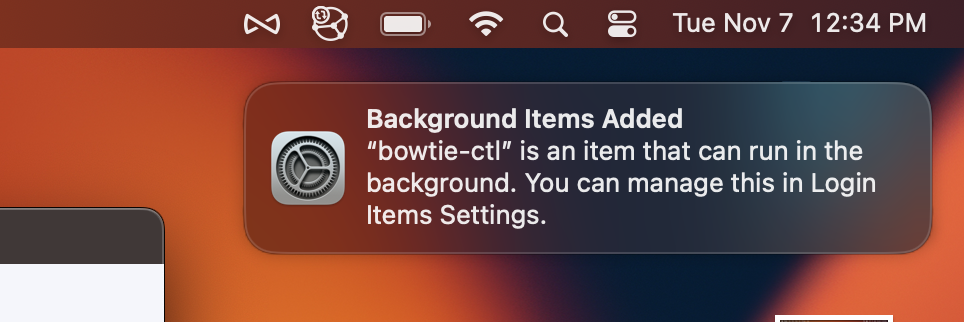
Note that you may see a notification about the bowtie-ctl program being available after the installation has completed.
This can safely be dismissed.
Once the installer exits, the Client Configuration window will open, and you may proceed to configure the client’s endpoint if necessary.
Linux Installation
Ubuntu Installation
Install the .deb package with the system’s package manager:
sudo apt install bowtie*.deb
Alternatively, if you have configured the Ubuntu Software Center to handle the .deb file type, double click on the .deb file to install.
Once the package has installed, a window will open to accept initial configuration and a field for a remote Controller endpoint. Proceed to Client Configuration to continue.
Ubuntu 20.04 User Services
Earlier versions of Ubuntu like 20.04 may not start user services correctly after installation. To start these services manually, use the terminal command:
bowtie-ctl enable
Enterprise Linux Installation
After installing any dependencies, install the .rpm package downloaded from https://api.bowtie.works/platforms/enterprise-linux:
sudo dnf install bowtie*.rpm
Following package installation, reload systemd to refresh unit information:
sudo systemctl daemon-reload
Finally, enable and start the Bowtie client daemons:
sudo systemctl enable --now bowtie-{service,dns}
systemctl --user enable --now bowtie-gtk
Once the package has installed, a window will open to accept initial configuration and a field for a remote Controller endpoint. Alternate configuration methods are to use pre-configured packages or use the manual configuration method outlined in Connection Configuration.
After using any of those methods to configure your Controller endpoint, proceed to Accepting the Bowtie Client Device.
Arch Linux Installation
Install the .tar.xz package with the system’s package manager:
sudo pacman -U bowtie*.tar.xz
Enable and start the Bowtie client daemons. You may either use the built-in helper script (as a sudo enabled user)
bowtie-ctl enable
Or you may use plain systemctl commands:
sudo systemctl enable --now bowtie-{service,dns}
systemctl --user enable --now bowtie-gtk
Once the package has installed, a window will open to accept initial configuration and a field for a remote Controller endpoint. Proceed to Client Configuration to continue.
Client Configuration
Desktop Clients
Pre-configured packages
Clients using pre-configured packages do not require manual configuration, and the installation process will skip these remaining steps.
After installing the client software, a new window will open to accept an initial remote Controller endpoint:
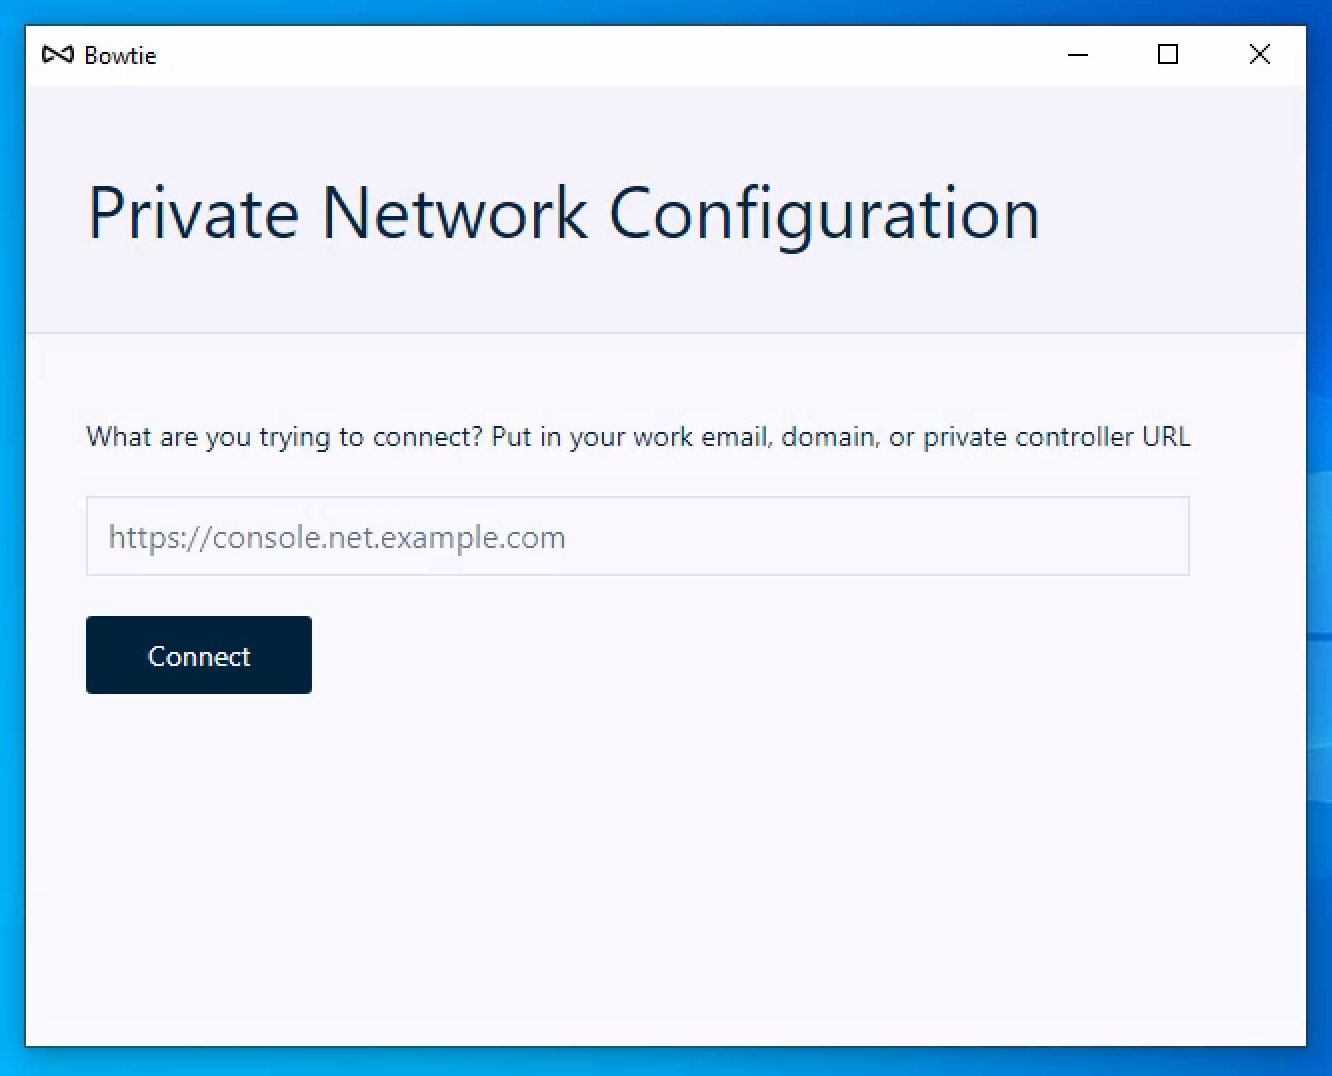
Enter the URL for your organization’s Controller.
This should match the https endpoint configured during the steps outlined in Controller Setup.
Click Connect to proceed to Log In to the Controller.
Log In
After connecting to the Controller endpoint, a new browser window should open to an authentication page to your organization’s Controller. This may be a single sign-on page, in which case the browser page will reflect your organization’s chosen single sign-on provider, or a basic login screen such as the following:
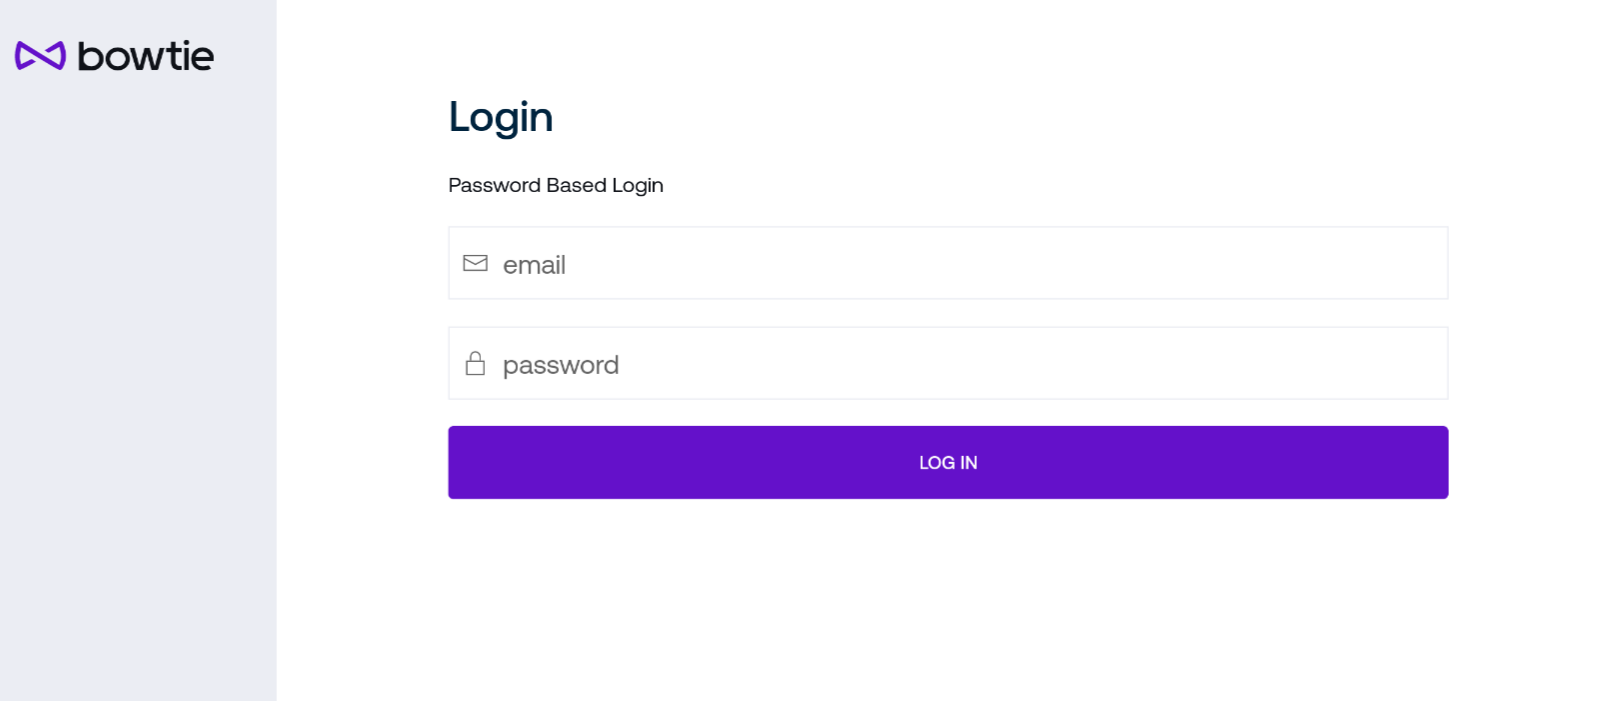
Log in with either your credentials for your organization’s single sign-on provider or the basic username and password provided by your administrator for the Bowtie Controller control plane. Authentication is necessary for associating users with devices and any policies reliant on user identity require authentication.
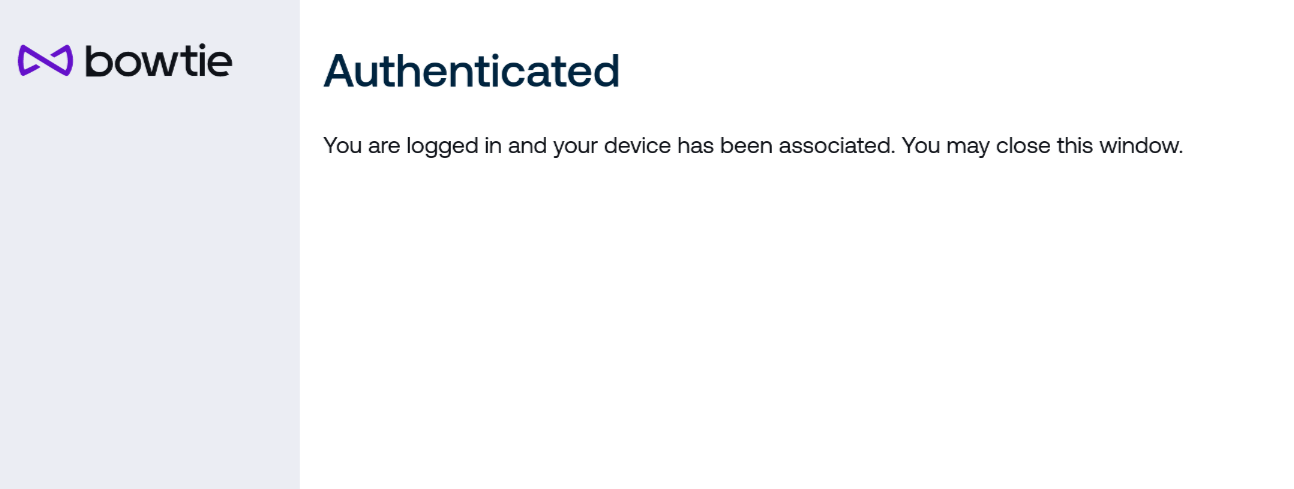
After logging in, you may close the login page that subsequently appears:
The Bowtie client configuration window will wait until the device has been accepted if it hasn’t been already:
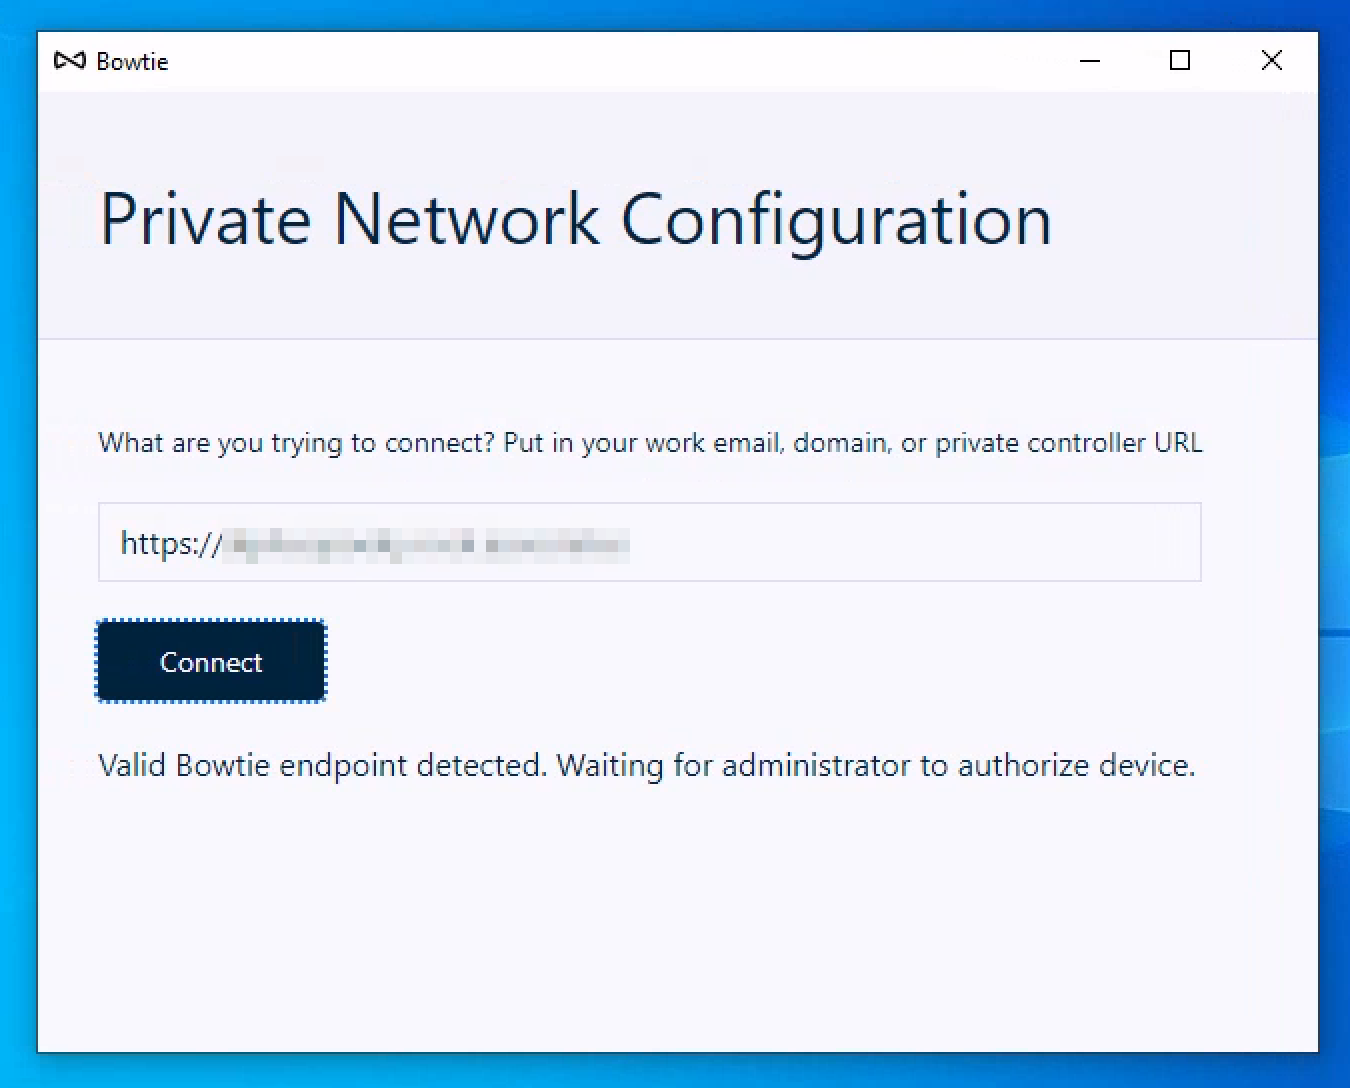
A user with an administrative role on the Controller should proceed to accept the new device.
Additional Client Configuration
The steps outlined here apply for new, desktop-oriented client installations. For alternative configuration methods, including defining an initial Controller endpoint via configuration file, see Connection Configuration.
Mobile Clients
As with Desktop Clients, enter the Controller URL configured as part of Controller Setup.
To fully integrate with your mobile device, accept the prompts that request installation access to your device’s VPN configuration.
Log in with credentials for your organization when presented with an authentication page. After successful authentication and once the device has been accepted, a fully operational connection to an organization will appear as the screenshot below.

Selecting an organization presents a collection of options and information:
Enable Connects On-Demand to dynamically enable the private Bowtie tunnel when necessary.
Your organization may enforce re-authentication after an expiration period to ensure stricter access control. To receive notification prompts to re-authenticate when this period lapses, select Enable Notifications, which will push reminders to log in to ensure uninterrupted access to your organization’s private network.
The upper-right context menu includes options to log out from your organization in addition to a feedback (SoS) button. You may use this SoS feature to assemble a diagnostic report for a Bowtie support team member to review in case of connectivity issues.
The remaining informational items on this interface may be referenced for diagnostics or other uses.
Accepting the Bowtie Client Device
Before a Bowtie Client device may access the Bowtie network, the device must be authorized and the user must Log In. Authorization of a Client device may be done in advance by an administrator or after the machine makes its initial connection:
Authorization After Initial Connect
To authorize a device after its initial connection to the network, visit the Organization Devices tab in the Controller’s Administrative Control Plane interface. The name and serial number of the new device along with the last access time should appear in the Devices list. Once you have verified that this is the device you wish to authorize, click the Accept button:

Devices Page
The address for this administrative web page for a controller is set up in Initial Setup and this endpoint will also appear in the device’s bowtie-service logs – the steps for viewing logs are outlined in Debug Log Information for each supported operating system.
Next Steps
Once you’ve logged in, setup is complete!
You may continue to use your network device as normal, but the addition of a Bowtie Client installation should now permit you to access network resources that you (or a Bowtie administrator) has granted to you and other members of the network. No ongoing maintenance or additional configuration changes should be necessary during the operation of the Bowtie Client. Any policy or network changes updated from the Bowtie Control Plane Interface will propagate to your device without manual steps and the service should persist across reboots and system shutdowns.
If you’re a Bowtie administrator or otherwise operating a Controller, you may proceed to Controller Operation in order to continue on to define network policies and manage client devices.
If you’re a Bowtie user, it’s likely that you have no further need to interact with Bowtie directly any further. You may wish to leverage your new connection to your organization’s Bowtie installation to browse network resources that you may have newly-gained access to.
Advanced users may optionally read Advanced Configuration if you need more fine-grained control of the local Bowtie Client installation such as changing the behavior of DNS resolution.