Multi-Controller Setup
Distributed Operation
The Bowtie multi-Controller syncing mechanism is undergoing rapid development and so this section is subject to change between releases. Please reach out to Bowtie staff if you encounter issues configuring and operating multi-Controller deployments.
Installing Bowtie Controllers in a fault-tolerant, highly-available cluster is the recommended configuration that is well-supported by the Bowtie server software.
Each controller can act independently during partitions or partial outages and will synchronize and coordinate seamlessly during normal operations. No notion of a ‘primary’ controller exists.
Backups
To persist your data off live Controllers and retain historical backup snapshots for use in disaster recover scenarios, Backup and Restore is available.
To install additional Controllers after the first you will prepare your first controller then follow the steps in Controller Setup for each Controller with the following additional steps.
General Clustering Guidance
For a new Controller to join an existing deployment, all members of the cluster must rely on a pre-shared key (PSK) for use in sync operations. This key should be kept secret and is used to authenticate sync operations between Controllers. You can generate a key with the following command in Linux:
uuidgen
PSK Generation
The uuidgen command-line application is bundled on all Controller appliances for convenience.
If you previously set up a Controller without explicitly generating a PSK, then one was generated on your behalf and can be retrieved from /etc/default/bowtie-server.
Two methods are available to expand your Bowtie Controller deployments:
Unattended cluster expansion with pre-seeded configuration files. This method is well-suited for operators who prefer to manage infrastructure in an automated fashion with tools like cloud-init. This approach is also suitable for configuration over
ssh.Guided cluster expansion via web-based Controller setup. Controllers created without any pre-seeded information offer two guided tracks for initial configuration: either as initial hosts for a new Bowtie deployment or as new members of an existing deployment.
Automated Cluster Expansion
Many administrators will prefer to use cloud-init or Terraform for these steps but they can also be performed manually with SSH or other console access and a text editor of your choice.
On your first controller, add or edit a file in /etc/bowtie-server.d/ to set the following values, adding them if they do not already exist:
BOWTIE_SYNC_PSK=<your sync PSK>
These values will also need to be set on every additional controller that you would like to join to the cluster.
Every new controller should consider setting the SITE_ID value to the same ID as any other Controllers within the same site as well.
Proceed to configure and launch new Controllers after the first following any relevant guidelines in Controller Setup while including the aforementioned variables for syncing strategy and pre-shared key.
Additionally, a temporary file should be created at /var/lib/bowtie on the new controller to point to an existing controller in the cluster. This file should be named should-join.conf and should contain the following:
entrypoint = "https://your-first-controller.example.com"
Below is an example demonstrating how to place these files using cloud-init:
#cloud-config
# ...other cloud-init parameters...

write_files:
- path: /var/lib/bowtie/should-join.conf
  content: |
      entrypoint = "https://your-first-controller.example.com"
- path: /etc/bowtie-server.d/custom.conf
  content: |
      SITE_ID=<your site ID>
      BOWTIE_SYNC_PSK=<your sync PSK>
Site ID
Multiple controllers in the same network segment that are used for HA purposes should have the same SITE_ID.
Controllers in different network segments should have different values for SITE_ID.
You can use any UUID4 value for the SITE_ID.
Remember to follow Seeding Configuration if you would like to achieve a purely declarative start-up sequence, which will initialize the new Controller without any necessary manual intervention when joining your Bowtie cluster by automating endpoint configuration, TLS, and single sign-on.
During the bootstrapping process, the new Controller will connect to the existing controllers to discover the existing application state and other peers.
The new controller and existing controller must have matching BOWTIE_SYNC_PSK values and the new controller must be accepted into the control plane in the Administrative GUI under the /devices page or via the device acceptance API endpoint.
After the new controller is accepted, it will restart in a running state and can begin accepting traffic.
Guided Cluster Expansion
All requirements common to Controller Setup still apply – such as network configuration, machine resource allocation, and port requirements – but guided cluster expansion allows operators to provision Bowtie Controllers into existing environments without cloud-init intervention or post-creation steps over ssh.
Initial configuration steps occur over a secured first-run web configuration wizard.
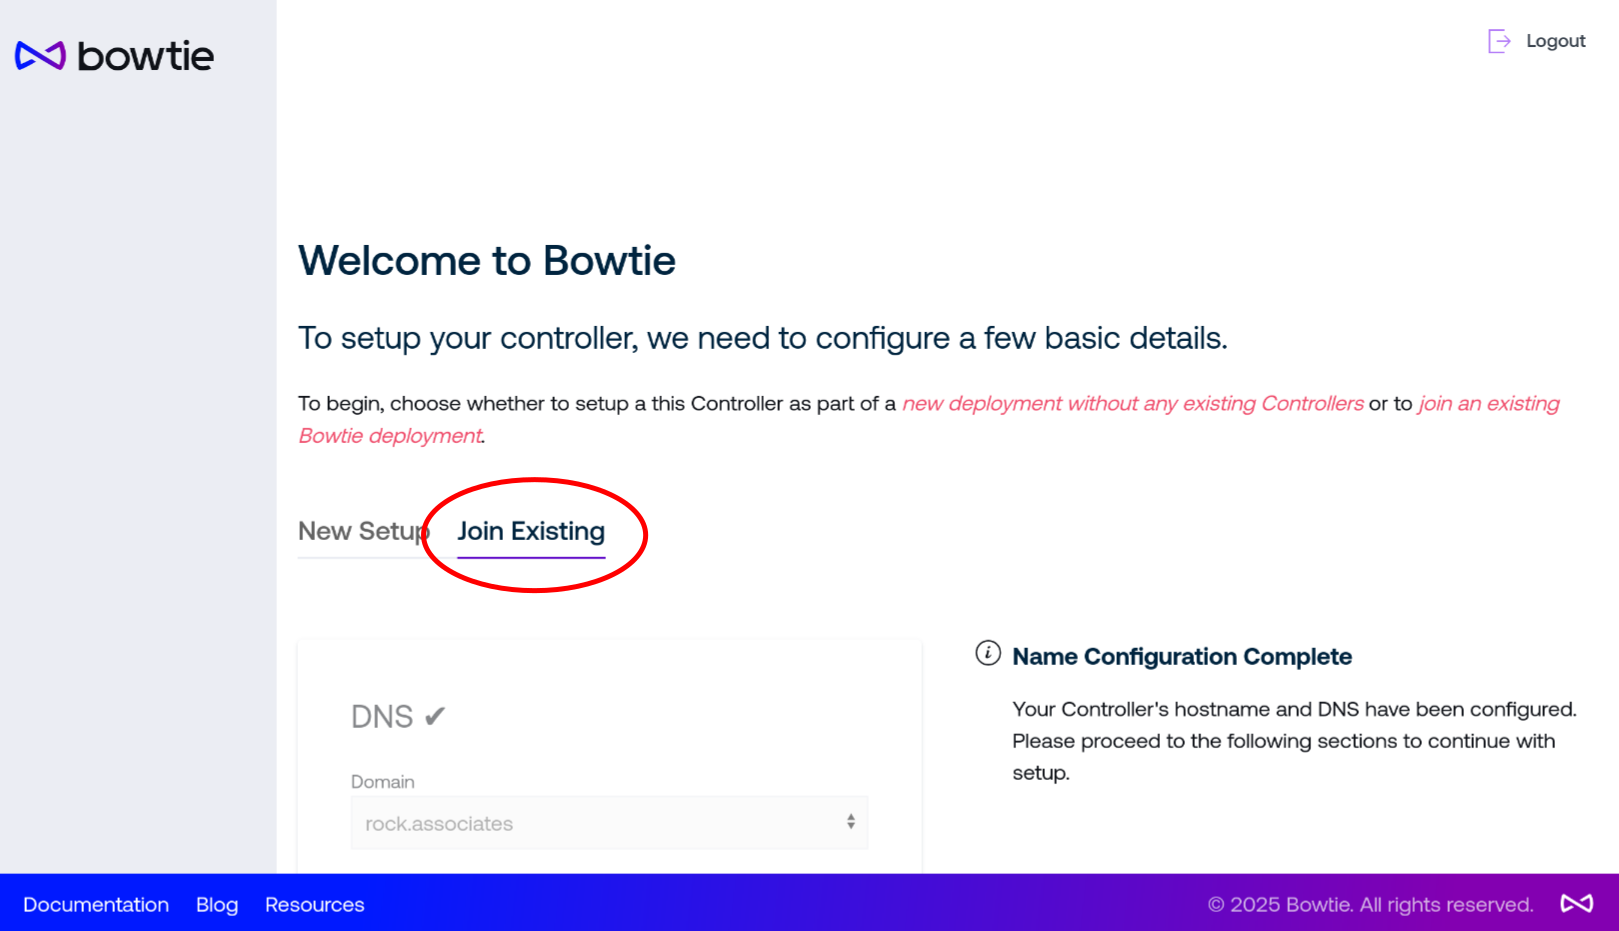
Proceed with the steps outlined in Controller Setup normally but without any cloud-init content. At the Configuration step, rather than selecting the “New Setup” tab, instead choose the “Join Existing” tab to proceed to join to an already-configured Controller.

Follow the guided setup to proceed. During the course of the configuration, you will configure a hostname, TLS, pre-shared key (PSK), existing Bowtie Controller endpoint, network configuration, and site configuration.
Recall that the pre-shared key (PSK) should be common among all Controllers.
Depending on your deployment topology, new Controllers in existing deployments may setup new sites or join existing ones. Choose whichever option is appropriate for your network.
At the conclusion of the setup steps, your Controller will redirect you to an initial login page. Because clustered Controllers share a common database, you may log in with an existing set of user credentials.
Debugging Clustering
The Bowtie server-side software runs under the bowtie-server service and can be queried as any other systemd-based Linux service. Consult its most recent logs with:
journalctl --unit bowtie-server --pager-end
Check the service’s status with:
systemctl status bowtie-server
Some additional sources of service configuration are listed below in case additional debugging steps are necessary:
/etc/default/bowtie-serverUsed to inject environment variables into the
bowtie-serverservice. Primarily for internal use to set default values not provided by end users.
/etc/bowtie-server.d/*Files in this directory will be read to set environment variables as defined in
man 5 systemd.exec. Use this directory to set environment variables on a per-file basis for options you may want to override.
Use
systemctl cat bowtie-serverto inspect the running configuration for thebowtie-server.serviceunit.